Countdown Timer using Vue.js
Jul 5, 2016
Let’s explore Vue.js further by creating a Countdown timer component which will be very useful for people to quickly put a Countdown page for the products or events website. While developing it, we will explore the features of Vue.js which makes it such a bliss to develop complicated things from the scratch without much effort.
We are going to use Vue CLI as we did with my previous Autocomplete component. So please follow that article and setup the environment with Vue CLI and browserify-simple.
Let’s decide how our component should be used.
<countdown date="August 15, 2016"></countdown>
Isn’t it tempting to have such a beautify component? :) Let’s pull this off together.
Create a Vue component file for our Countdown component on
./components/Countdown.vue and define the following template section.
<template>
    <div class="block">
        <p class="digit">{{ days }}</p>
        <p class="text">Days</p>
    </div>
    <div class="block">
        <p class="digit">{{ hours }}</p>
        <p class="text">Hours</p>
    </div>
    <div class="block">
        <p class="digit">{{ minutes }}</p>
        <p class="text">Minutes</p>
    </div>
    <div class="block">
        <p class="digit">{{ seconds }}</p>
        <p class="text">Seconds</p>
    </div>
</template>
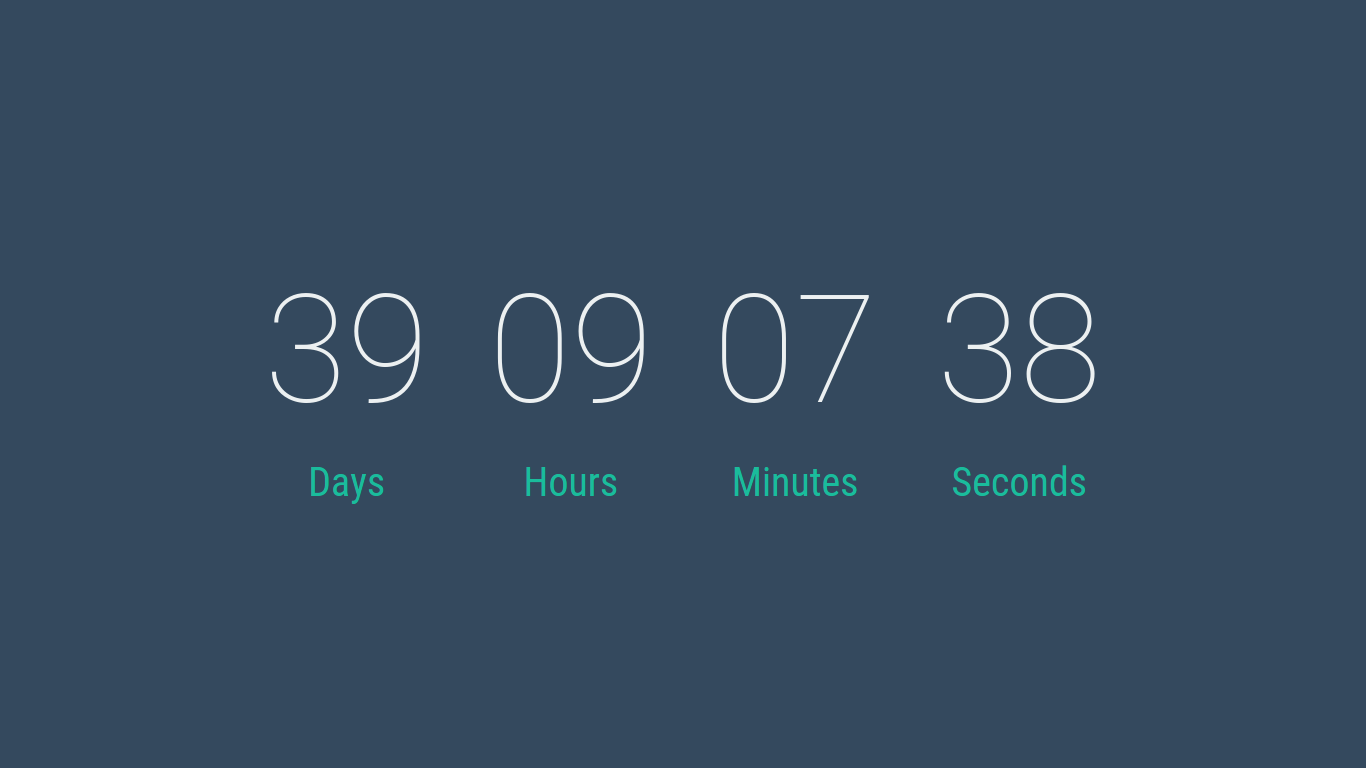
Now we have defined a clean template which has placeholders for Days,
Hours, Minutes & Seconds. Let’s add some style to it so that it looks like
a countdown timer. We are going to use CSS flex properties to make is appear
nice on the screen. Thankfully Vue component files have a style section which
helps us place the component specific styles in the same file. So we are going
to add the following styles to the component in style section.
@import url(https://fonts.googleapis.com/css?family=Roboto+Condensed:400|Roboto:100);

.block {
    display: flex;
    flex-direction: column;
    margin: 20px;
}

.text {
    color: #1abc9c;
    font-size: 40px;
    font-family: 'Roboto Condensed', serif;
    font-weight: 40;
    margin-top:10px;
    margin-bottom: 10px;
    text-align: center;
}

.digit {
    color: #ecf0f1;
    font-size: 150px;
    font-weight: 100;
    font-family: 'Roboto', serif;
    margin: 10px;
    text-align: center;
}
Now we have a template that also looks good. It is time to add some logic to it. We have only one property in the component which is the date for which we are going to do the countdown.
<script>
export default {

    /* ready function will be here */

    props : {
        date : {
            type: Number,
            coerce: str => Math.trunc(Date.parse(str) / 1000)
        }
    },

    data() {
        return {
            now: Math.trunc((new Date()).getTime() / 1000)
        }
    }

    /* Computed properties will be here */
}
</script>
Have a closer look at props section for date property. When we use the
component, we will be passing the date as a String, but the type of the
property is defined as Number because it is meant to hold the value of that
date in seconds. coerce function helps us convert the external input into a
value that will be useful inside the component.
We have only one data declaration named now which will be holding the current
DateTime value in seconds.
We need to call the window.setInterval somewhere so that we can tick the
countdown every second. But where do we place it? We have a ready hook in
the component’s lifecycle, which will be called right after the DOM elements are
created for the component. We are going to place our tick function here. This
code should be added in place of the corresponding comment in the component.
ready() {
    window.setInterval(() => {
        this.now = Math.trunc((new Date()).getTime() / 1000);
    },1000);
}
So the now property of data is updated every second with new value of the
current date(in seconds).
Now everything is set. We have the current time in seconds and the final date for which we do the countdown also in seconds. Let’s compute!
computed: {
    seconds() {
        return (this.date - this.now) % 60;
    },

    minutes() {
        return Math.trunc((this.date - this.now) / 60) % 60;
    },

    hours() {
        return Math.trunc((this.date - this.now) / 60 / 60) % 24;
    },

    days() {
        return Math.trunc((this.date - this.now) / 60 / 60 / 24);
    }
}
Now this doesn’t need any explanation! I love Computed Properties. It makes things more readable and maintainbale.
One last thing to do. When the computed values are less than 10, we don’t want
to see single digit values in the output. Filters come to the rescue. In the
main.js file define the following filter at the end.
Vue.filter('two_digits', function (value) {
    if(value.toString().length <= 1)
    {
        return "0"+value.toString();
    }
    return value.toString();
});
And update the template accordingly.
<template>
    <div class="block">
        <p class="digit">{{ days | two_digits }}</p>
        <p class="text">Days</p>
    </div>
    <div class="block">
        <p class="digit">{{ hours | two_digits }}</p>
        <p class="text">Hours</p>
    </div>
    <div class="block">
        <p class="digit">{{ minutes | two_digits }}</p>
        <p class="text">Minutes</p>
    </div>
    <div class="block">
        <p class="digit">{{ seconds | two_digits }}</p>
        <p class="text">Seconds</p>
    </div>
</template>
We have completed developing our Countdown component. Now time to update
the App.vue file to make use of our component.
<template>
  <div id="app">
      <Countdown date="August 15, 2016"></Countdown>
  </div>
</template>

<script>
import Countdown from './components/Countdown.vue';

export default {
    components: { Countdown },
}
</script>

<style>
#app {
    align-items: center;
    bottom: 0;
    background-color: #34495e;
    display: flex;
    justify-content: center;
    left: 0;
    position: absolute;
    right: 0;
    top:0;
}
</style>
That’s it! We now have a functional Countdown timer page. You can see the code on GitHub.